


filmQA pro™ add-on installation
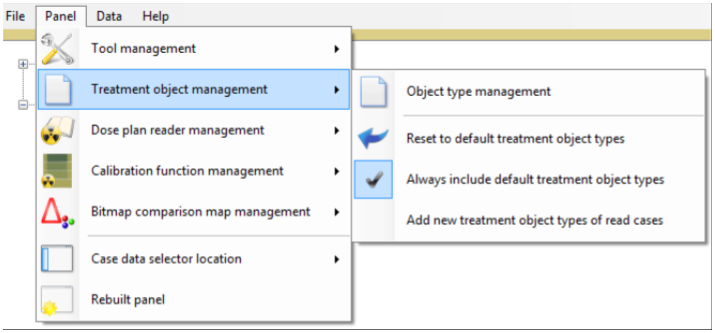
Add-on management can be accessed via “Panel” menu bar item as shown below.
“Object type management” allows to select the assembly (library, see A) and assign (install) classes implementing a specific Add-On (see C). The “Object type management” panel

- Assembly (library, *.dll) scanned for installable classes (add-ons), pull out the combo box for already known assemblies.
- Open new assembly, starts file selection panel to select a new assembly.
- Classes (add-ons) available in the selected assembly that are not yet installed. Select class entry in this table to install then click button
 (see F).
 - Classes already installed (not necessarily part of the selected assembly. Select class entry in this table to move position in the list use arrow buttons (see G). Hover mouse over selected class to get additional information.
- Display name of the selected add-on in FilmQA Pro. Can be edited to customize FilmQA Pro..
- Install and uninstall buttons.
- Position change buttons for selected class item in “assigned” table. Assigned position is used in all selection controls (context menu, combo boxes).
User assemblies must be located either in the FilmQA Pro program folder or in the Global Assembly Cache (GAC).
Install Add-On
Select the assembly (library) that includes the add-on to be installed (see A).
Select in the “available from library” table (see C) the class (add-on) to be installed, then click the button (see F).
Uninstall Add-On
Select class (add-on) in the “assigned” table (see D), then click the  button (see F).
read more >